If living through a global pandemic taught us anything, it's that it's probably a good idea to keep some non-perishable food around the house in case of nationwide shutdowns (or climate change-related natural disasters.) Knowing that you and your family would be able to sustain yourselves through times of hardship is a comforting feeling. One of the best ways to preserve food for the long-term is by freeze-drying it, and you don't have to wait for the apocalypse to enjoy freeze-dried foods.
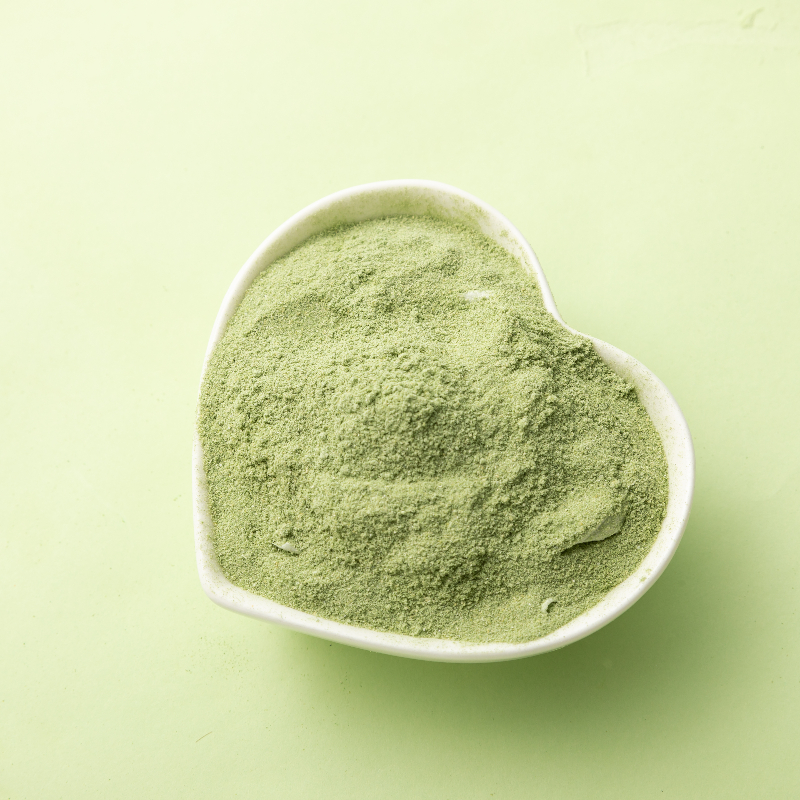
Since freeze-drying preserves all the flavor and nutrients while also (obviously) removing all the moisture, using freeze-dried fruits and vegetables in both sweet and savory cooking is more plausible than you may think. Canning and dehydrating food without freezing affects the way your food tastes; it changes the color and reduces the nutritional value by about half. Freeze-dried foods, by contrast, retain their food value and can be stored in the refrigerator, pantry, or cellar for up to 25 years. They are lightweight and easily transported for easy camping meals or an emergency food supply. Dehydrated Bell Pepper
Before freeze-drying your food, be sure to pick the freshest options. Wash your food to remove any particles, dirt, and contaminants. Then, cut the food into small pieces or chunks to facilitate the elimination of moisture. You can, however, freeze-dry cooked meals.
Once you have prepared your food, you can begin the freeze-drying process. We've put together some of the most popular ways to freeze-dry your food.
If you can afford a freeze-dryer, then it’s a great option, purposely designed for freeze-drying. There are plenty of options out there, so be sure to pick a dryer that makes economic sense. The good thing about these dryers is that they come with several trays for different foods.
Step 1: Place your foods in the trays -- ensure the food doesn’t exceed the tray’s height.
Step 2: Place the trays in the dryer and close the doors (Some models have two doors).
Step 3: Freeze the food at -40 to -50 degrees.
Step 4: Allow 24 hours for the process to complete.
Step 5: Once complete, place the food in mylar bags and seal them up.
A home freezer makes it easier for people who want to freeze-dry food for the first time. If you have a deep freezer, it makes an even better option. But your typical home freezer will still work.
Step 1: Place the food on a tray or plate after spreading the food out.
Step 2: Place the tray in the freezer -- the food needs to be frozen at the lowest temperature.
Step 3: Allow the food to stay in the freezer until it’s completely freeze-dried -- 2 to 3 weeks.
Step 4: Once the process is complete, pack it in an air-tight storage bag and store it in your freezer or pantry.
Using dry ice is much faster than using the freezer. This is because dry ice evaporates moisture from the food quickly.
Step 1: Pack the food in freezer-safe bags.
Step 2: Place the bags in a cooler.
Step 3: Completely cover the bags with dry ice and leave it for about 24 hours.
Step 4: Once they have completely freeze-dried, remove the bags and store them.
While this is the most efficient method, it is also expensive. You’ll need a special vacuum chamber to freeze-dry your food. The chambers are designed to speed up the freeze-drying process.
Step 1: Spread the food on a tray or plate without clumping it together.
Step 2: Freeze the food until solid in a freezer.
Step 3: Place the food in the chamber at around 120 m Torr and set the temperature to 10 °C.
Step 4: Allow the food to stay in the chamber for at least a week for optimal sublimation.
Step 5: Once the process is complete, put the food in air-tight containers for storage.
1. Can you freeze-dry food at home? Yes, you can freeze-dry food at home if you know how to do it. You can use a freeze-dryer, freezer, dry ice, or a vacuum chamber to freeze-dry your food. Simply follow the steps provided above to freeze-dry your food for future use. Freeze-drying at home is much less costly than using commercial services. If it’s your first time to freeze-dry food, start with simple food options such as apples, bananas, and berries. Vegetables like peppers and broccoli are also great for practicing on -- you can then try other types of foods when you’re confident with the results. Bear in mind that properly frozen food doesn’t change color.
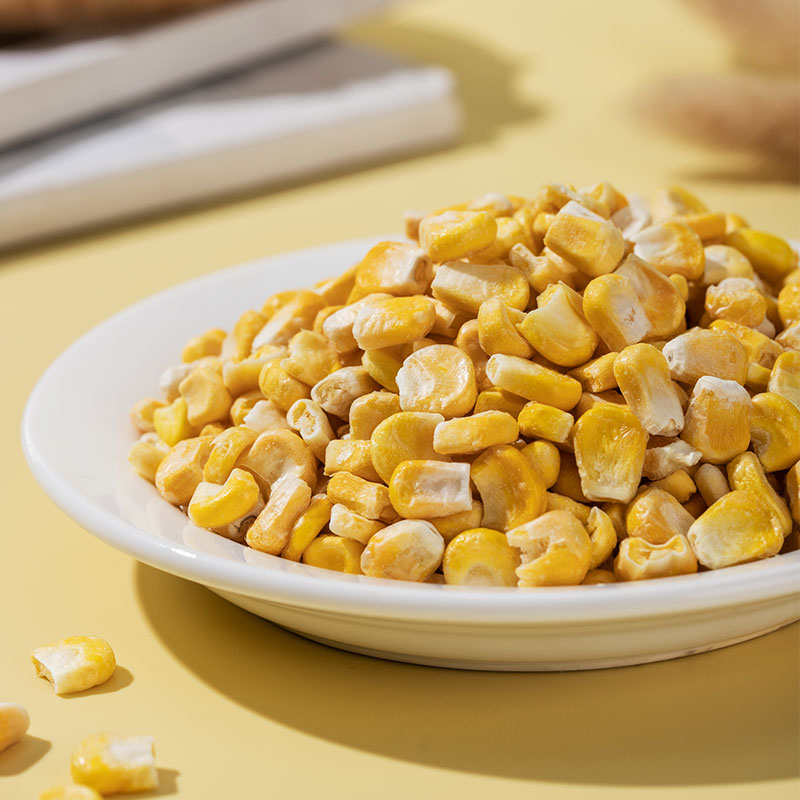
2. How long does it take to freeze dry food? Depending on the method you’re using, it takes 20 hours to a month to freeze-dry your food. Also, it depends on the type of food you’re freeze-drying. For example, foods such as corn, meat, and peas dry quickly, while watermelon and squash take longer. The thickness of the food slices will affect the freeze-drying time, too. If you have a freeze-dryer, it takes about 20 to 40 hours. But this freeze-drying equipment is quite costly for home use. Most effective dryers cost between $2,000 to $5,000, although there are some options below $2,000. Using a standard freezer is the cheapest option, but it can take up to a month to freeze-dry your food properly. Using dry ice is a quick option, too, but it takes a little more work than using a standard freezer.
3. What foods cannot be freeze-dried? This food preservation technique works great for vegetables and fruits, but you’re not limited to them only. You can also freeze-dry desserts, meats, dairy, and cooked meals. However, there are foods that you shouldn’t freeze dry. This includes butter, honey, jam, syrup, pure chocolate, and peanut butter.
4. How do you freeze-dry fruit at home without a machine? If you don’t have a freeze-dryer, a home freezer and dry ice are accessible options to most homeowners. Be sure to follow the steps we have shared above to freeze-dry your foods using these methods. When you use these methods, remember to test your foods before storing them.
5. How do you rehydrate freeze-dried meals? While some freeze-dried foods can be eaten frozen, others like meat and vegetables will need to be rehydrated first. You simply need to place your meat in warm or hot water to rehydrate it -- this will take several minutes. For vegetables, you can just sprinkle them with some water. And of course, you also can eat them just the way they are.
Why pay for something you can do yourself? More times than not, unclogging a garbage disposal is something you can knock out on your own. And the best part is you don't have to be incredibly handy to pull off the task.
KitchenAid mixers tend to be status symbols for home cooks. Shiny and gleaming in their beautiful colors, nearly everyone feels the need to show them off on the counter instead of hiding them away in a cupboard. These days, a KitchenAid mixer can do almost anything with the right attachment, such as making ice cream, rolling and cutting pasta, and even grinding meat. Keep reading to learn how to grind meat with a KitchenAid stand mixer.
Plant-based meats and a lean toward sustainable eats crested during 2021. From celebrity chef Tom Colicchio’s partnership with Meati to The Manual’s December guide to going vegan, the world of cuisine kept up its constant pace with the zeitgeist.
This year has definitely seen more plant-based foods and sustainable packaging to wrap them in, as we are doing what we can to save our planet. We've also seen shorter supplies of, well, everything, leading to shorter menus, but longer creativity and fusion.
Dehydrated Vegetable Suppliers The Essential Guide for MenThe Manual is simple — we show men how to live a life that is more engaged. As our name implies, we offer a suite of expert guides on a wide range of topics, including fashion, food, drink, travel, and grooming. We don’t boss you around; we’re simply here to bring authenticity and understanding to all that enriches our lives as men on a daily basis.